
Who knew! Right? I just found out that I can print on tissue paper and that when glued down with my acrylic glaze, the tissue becomes translucent. What! Stop the truck! No way! So of course I went searching through the house to find any tissue I could, and where do you think I found some? Crumbled up in the bottom of an old gift bag on the top of the closet shelf. (Note to self, those bingo christmas gifts are still up there too!). So I got to work figuring out how on earth I was going to get this thin piece of paper through my printer, and when I did (you have to attach it to a regular sheet of printer paper using either a glue stick or spray glue), even the crumbled creased-ness of it didn't stop my awe. The print was gorgeous. I so should have taken a picture. I printed a handful of extracted roses and my two favorite rose shots of mine that I've edited to look vintage. I had no idea what I was gonna do with these, I just knew I wanted to see if in fact they would go translucent. So I quickly came up with a rushed together project and jumped in. I only used two of the extracted roses and one of the big rose prints, but that is ok. I'm not through with this project yet. I think it has potential, but needs time to sit in my head a bit and form... this is what my rushed together came up with so far...

In there, I went all out! I decided to not only to photo transfers on tissue paper, but to also use tissue paper to create texture drama for my page! I first painted my page, then glued down some white tissue paper that I crumbled up creating lots of folds and creases. Texture. Then I glazed over it with a very watery acrylic gloss medium glaze I made because I didn't like how the modge podge I was using was working. I really like the glaze much better. That is the whole point in all of this, trial and error. Find out what it is that works and what doesn't! So, after letting the tissue paper dry (and helping it along with a hair dryer!) I painted over it with my paints (red/silver/gold/copper/)blending them all together and around just having fun.. making sure to get in all the creases and crevices of the texture that the tissue paper created. Before it comepletely dried, I wiped a good bit of the paint off of the tissue paper so that the page wouldn't be too heavy with paint, but it left behind its shimmer and shine! After letting the paint fully dry, and maybe helping it with a hair dryer... I did some texture stamping with some bubble wrap, a piece of velcro, a jar opener (like shelf liner) and a zipper! And then I let the page rest for several hours as I shopped online for origami paper! (and maybe a paint or two... what? I'm using a lot of that silver and gold!).
This morning, I went back to work and placed my images. I skipped the modge podge this time and went straight to the acrylic gloss glaze. Thankfully I had made a good amount yesterday. I found that putting a bit under the image to hold it in place helps, other wise while you paint the top of the image it slips around. But, bottom line... I fell more madly in love with this technique the longer I worked on the page! From the very first print on my crumpled tissue paper.. to finishing my art journal page with uncreased tissue paper that is perfectly translucent, yet I can still read every single word of my journaling printed on it! Its just simply awesome!! I am in love!
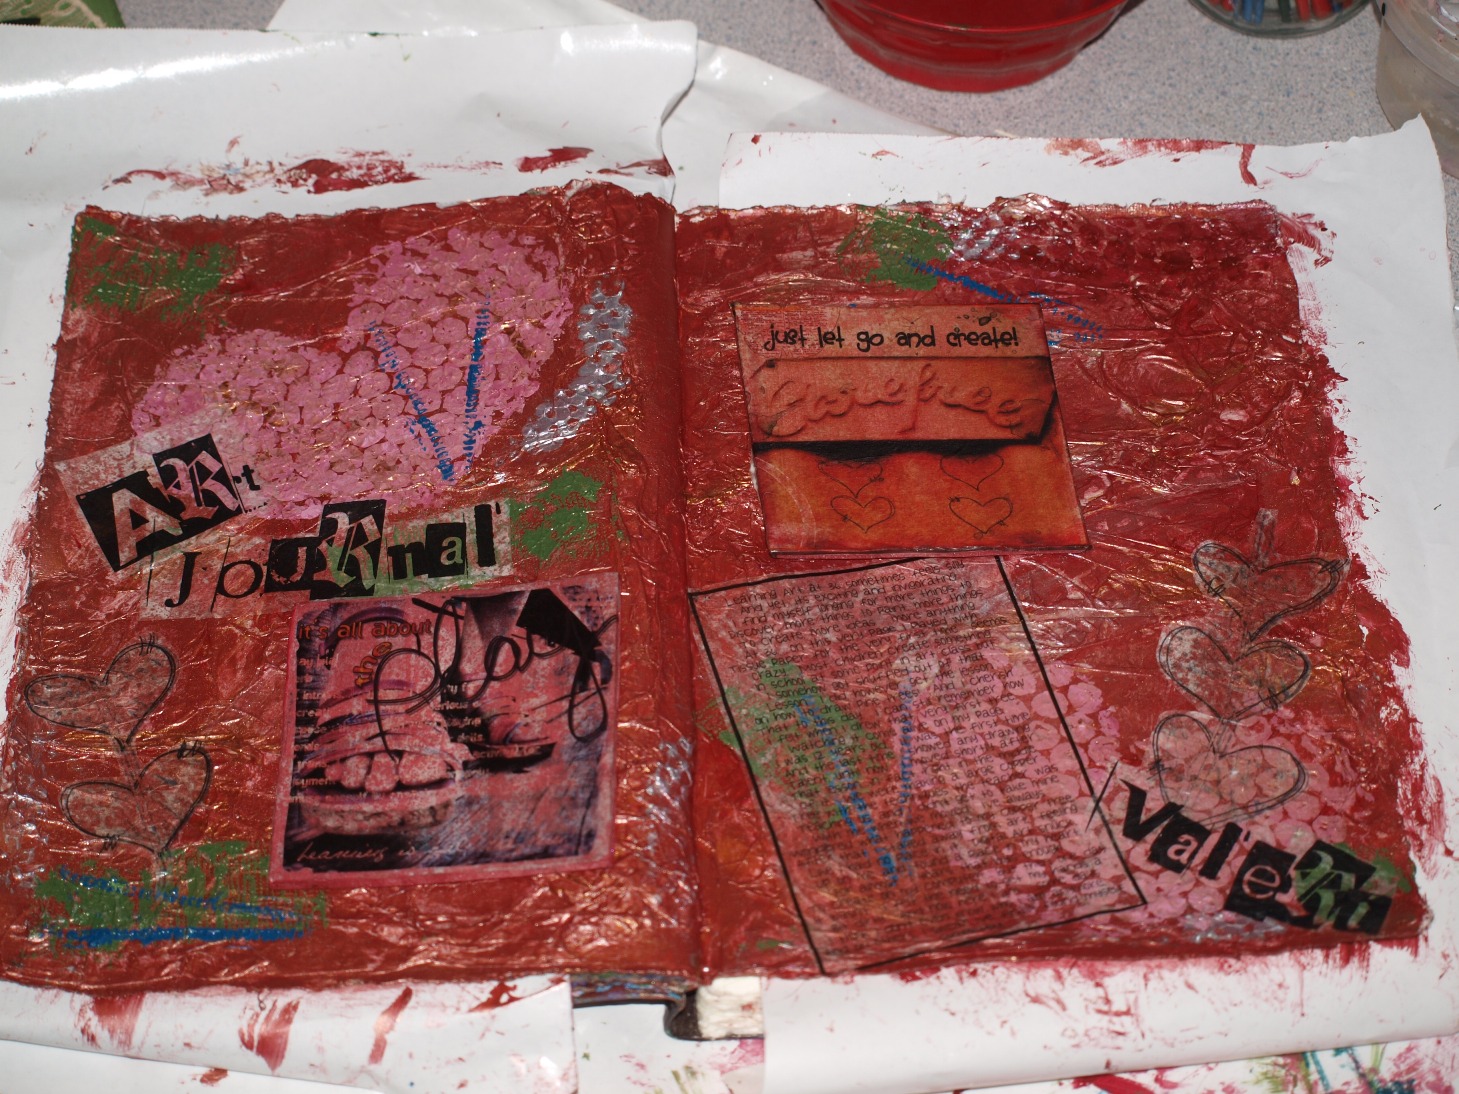
Whether I was putting the image on to the lace on my first project, the textured back ground on the art journal page or the flat foam board on the raised part of the page... they all went on really easy and nice. And they look awesome too! Take a look and see what I mean! And they go get you some tissue paper and try it out for your self! I plan on working some more things. My next adventure in tissue paper... Metal. Or wood. Hmmm... Both! I think I will just try everything I can and be happy!


I would love to see if any of you do try this! So, please come back and share a photo, if you do! Or, if you have done it in the past, leave a comment and tell us about it! I would love to hear from all of you out there!
Till next time!


